A packaging line is ready for its next order, but production can't restart because the changeover crew is still looking for a fixture, checking settings, and waiting for a first-piece approval. The schedule shows a planned stop. The plant feels the cost as lost capacity, a delayed job, and pressure to make up time later.
That's a familiar problem for manufacturers trying to improve output without buying an entirely new line. The practical answer is usually to measure the work, engineer the tooling and sequence, and add automation only where it earns its place. For teams looking for how to reduce setup time in manufacturing, the aim isn't speed at any cost. It's a repeatable changeover that releases usable capacity while protecting quality and safety.
Table of Contents
- Why Setup Time Is the Hidden Tax on Your Plant
- Baselining Your Changeover the Way Engineers Actually Do It
- Applying SMED Without Treating It Like a Religion
- Picking the Right Level of Automation for Each Changeover
- Calculating ROI So You Stop Funding the Wrong Changeovers
- Keeping Quality, Safety, and Compliance Intact When Changeovers Speed Up
- Your 60 to 90 Day Setup-Reduction Roadmap
Why Setup Time Is the Hidden Tax on Your Plant
A mid-sized packaging plant can lose two hours per shift to changeovers and still appear to be running on schedule. Those planned stops shrink the time available for production. To compensate, supervisors may favor larger batches, leaving more work-in-process, less flexibility when demand changes, and a schedule that is harder to recover when a job slips.
Setup time shapes more than machine availability. It affects batch sizes, inventory between operations, and whether an urgent order can fit into the schedule. Long setups can also put pressure on operators to rush startup, increasing the risk of avoidable adjustments and first-piece scrap. The cost includes the production decisions made to avoid stopping the line.
Start with method, not a major purchase
A faster machine or robotic changeover may be justified, but first check the work itself. Tools may not be staged, components may need repeated adjustment, or the task sequence may keep equipment stopped longer than necessary. Better sequencing and purpose-designed fixtures can remove those losses without replacing the line. That matters when the constraint is preparation or handling, not the machine's capability.
Toyota's development of Single-Minute Exchange of Die (SMED) shows what disciplined process redesign can achieve. Industrial engineer Shigeo Shingo distinguished work that requires a stopped machine from work that can happen while it runs. By 1962, Toyota had reduced die-change time from approximately three hours to 15 minutes; by 1971, the average was about three minutes. The improvement came from changing the work sequence and preparing for the changeover in advance, not asking operators to move faster (IISE's account of SMED).
The same principle applies to packaging equipment, machining centers, molding machines, and semi-automated assembly stations. Preparing tools, materials, settings, and instructions before shutdown can reduce the work that must happen with the equipment stopped. Keep downtime for tasks that require it, and judge improvements by whether they recover usable production capacity without creating startup or quality problems.
Baselining Your Changeover the Way Engineers Actually Do It
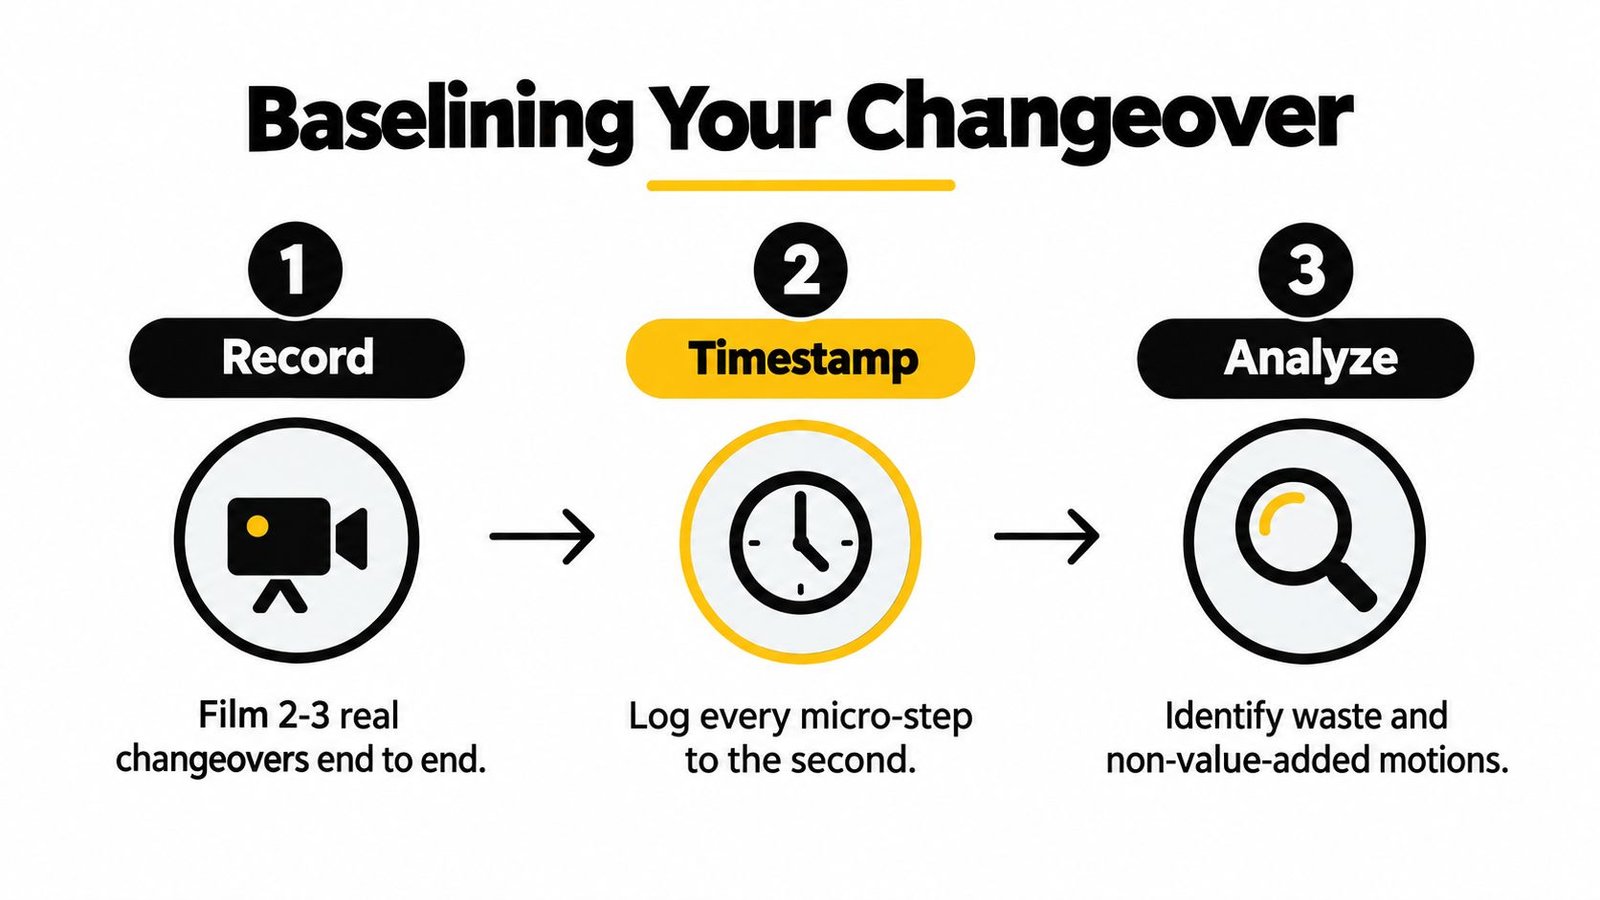
Don't redesign a changeover from memory. Record two or three real examples, including normal production conditions, and agree on the measurement boundaries before anyone starts timing. A useful boundary is the last good part of the current run to the first good part of the next run at the required quality standard. If the team measures only the mechanical swap and ignores startup or approval delays, the baseline won't reflect the capacity recovered.
Turn footage into an actionable map
Film the whole changeover from a safe, approved position. If a press is switching dies, or a packaging line is changing formats, the video should capture preparation, shutdown, removal, installation, adjustments, restart, inspection, and the point when acceptable production resumes. Timestamp every micro-step, including walking, searching, waiting, fetching parts, and repeating an adjustment. A task that appears insignificant in isolation may recur throughout the process.
Keep operator time and machine waiting time separate. An operator may be busy while the machine is stopped, or the machine may wait while someone retrieves a tool or clears a quality check. Those are different problems, and they call for different fixes.
Then classify each activity as:
- Internal: The equipment must be stopped for the task.
- External: The task can be completed while the equipment is still running.
Rank activities by elapsed time, how often they recur, safety risk, and whether they could be externalized. Don't rely on estimates from memory. A time study often reveals search and transport that operators understandably overlook when recalling a familiar routine.
A review of manufacturing applications reported setup or changeover reductions ranging from 50% to 64% across documented implementations, using measures such as throughput time and time to reach peak production. Treat those results as evidence that improvement is possible, not a forecast for your plant. The right baseline is your own footage and timestamps (manufacturing applications review).
Finish with a one-page current-state map. For each task, record its sequence, duration, classification, responsible role, and the delay or risk observed. That map gives the team a concrete basis for deciding what to change.
Applying SMED Without Treating It Like a Religion
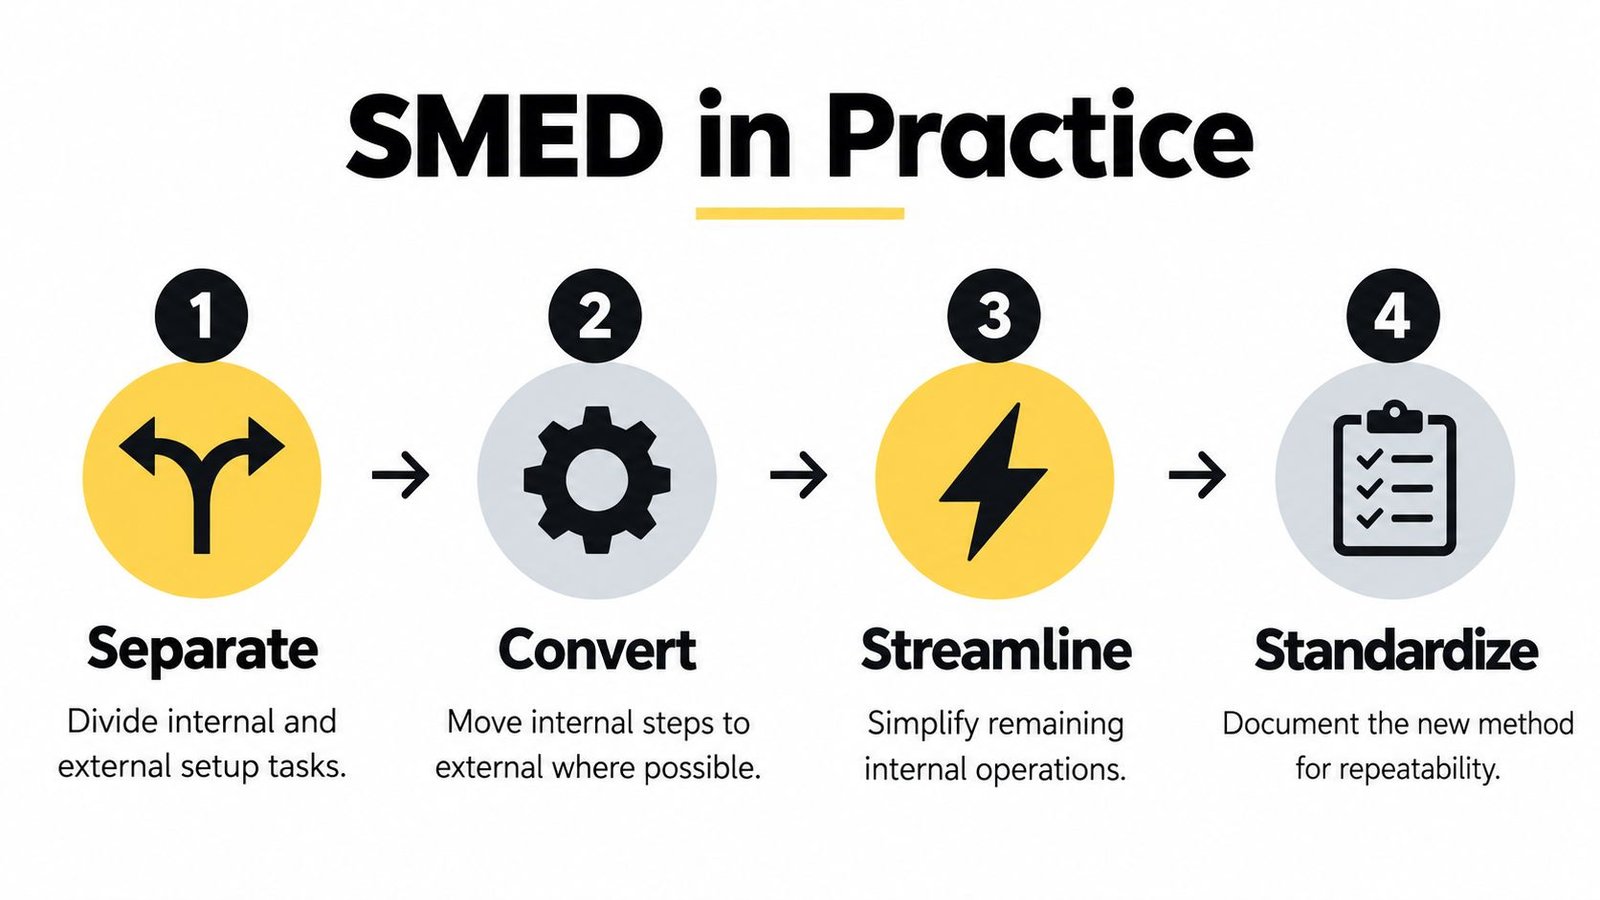
A changeover can lose hours to preparation that happens after the machine stops, or to adjustments that should have been designed out. SMED is useful when treated as an engineering method, not a universal time target. Its core move is to shift work outside the stoppage where possible, then make the remaining internal tasks simpler and more repeatable.
Change the sequence before adding complexity
Start with changes that require little new equipment:
- Externalize first. Before shutdown, kit material, fixtures, fasteners, gauges, inspection tools, and approved instructions. Confirm that parts are available and usable.
- Apply ECRS. Eliminate unnecessary actions, combine steps where practical, rearrange the sequence to avoid backtracking, and simplify what remains.
- Parallelize safely. Give operators simultaneous tasks only when staffing, layout, and safety controls support them. Assign roles before the stop, not during it.
- Engineer the interface. Replace repeated bolting with quick-release clamps where appropriate. Locating pins and hard stops improve repeatable positioning, while graduated scales can reduce trial adjustment. Duplicate or preset fixtures can shift preparation off the machine.
- Standardize the sequence. Set visual references, checklists, defined roles, and a clear first-piece acceptance criterion. Check actual setup time after each changeover.
A quick-release clamp has limited value if the fixture still needs repeated alignment. A locating pin is no help if it is hard to find or the work instruction shows a different configuration. Tooling, access, operator coordination, and documentation must agree. Where fixture design is the constraint, custom workholding fixtures can support repeatable location and clamping without replacing the production line.
The “single-minute” idea sets a direction, not a requirement that every setup take one minute. Aim for shorter, repeatable changeovers, with the target set by process limits, equipment, and validation needs. A documented oil-and-gas manufacturing case used recording, classification, externalization, ECRS, parallel work, standardization, and measurement. Setup time fell from 6,296 seconds to 532 seconds, while OEE increased 44.6% (oil-and-gas SMED case study). Those results show what one application achieved, not what every line should expect.
Set a financial filter before committing engineering time. Prioritize changeovers that recur often, constrain production, or create meaningful quality or labor risk. A technically impressive reduction may have little operating value if the change is rare or the recovered capacity cannot be used. Faster work also needs safeguards: retain approved settings, traceable checks, and first-piece acceptance records so a shorter stop does not weaken quality or audit readiness.
Picking the Right Level of Automation for Each Changeover
A shorter setup and a more automated setup aren't the same thing. A fixture upgrade may eliminate repeated alignment with modest disruption, while a fully automated changeover may add substantial cost and make product variation harder to accommodate. Before choosing equipment, look at setup frequency, demand stability, product mix, and the actual bottleneck. If production is waiting on inspection or material availability, automating a tool swap won't fix the constraint.
| Intervention | Typical Cost | Payback Horizon | Best Fit | Watch Out For |
|---|---|---|---|---|
| Standardized work and kitting | Low | Often shorter when searching or inconsistent sequencing dominates | Changes slowed by missing tools, unclear roles, or shift variation | Instructions can drift if operators and engineering don't maintain them |
| Fixture and tooling upgrades | Low to moderate | Depends on recurrence and recovered capacity | Repeated positioning, clamping, or manual adjustment | A quick clamp alone won't solve poor locating or access |
| Semi-automation | Moderate | Best judged against recurring manual effort and quality risk | Stable steps within a high-mix or semi-automated process | Added controls and interfaces need maintenance and training |
| Fully automated changeover | High | Longer and more dependent on sustained utilization | Repeated, predictable product changes with clear economic value | Flexibility, validation, and integration can become limiting factors |
| Scheduling or batch-size changes | Low capital | Can be immediate if the schedule is the real constraint | Infrequent changes, stable demand, or poorly sequenced jobs | Larger batches may raise inventory or delay other products |
“Typical cost” and “payback horizon” are qualitative because a meaningful estimate depends on the equipment, scope, utilization, and local implementation costs. A $20K fixture may be a better choice than a $400K robotic swap when it solves the actual setup constraint at lower risk. In another plant, neither investment may beat changing the production sequence. Those example price points are hypothetical decision prompts, not quoted project costs.
Reported outcomes vary by process. A review describes reductions from 16.7% to 18% in some injection-molding cells and roughly 57% in a CNC case after standardization, reinforcing that there's no single percentage to assume for a new project (setup-reduction and batch-size research). Match the intervention to your line's constraints, and consider levels of automation in the context of product mix, staffing, and quality controls rather than as a target in itself.
Calculating ROI So You Stop Funding the Wrong Changeovers
Not every slow changeover deserves a tooling project. If the equipment isn't the bottleneck, or the plant rarely changes products, a faster setup may not create capacity the business can use. The financial filter is simple: estimate what time you can recover, determine whether the plant can monetize it, and compare the value with the full cost and risk of implementation.
Build the case from plant data
A benchmark review reports common SMED reductions in the 30% to 50% range when externalization, parallel work, and fixture or adjustment improvements are combined. A turning-line case in the review exceeded 45% after transferring as many internal activities as possible to external work and minimizing the rest (SMED benchmark study). Use benchmarks as context, not as a substitute for a plant-specific calculation.
Use a changeover performed three times daily, reduced from 35 minutes to 14 minutes, as a hypothetical illustration. The difference is 21 minutes per changeover, or 63 minutes per day at that assumed frequency. To evaluate an actual project, replace those assumptions with observed plant data and calculate:
- Annual setup hours recovered. Use actual changeover frequency and measured time saved. Keep equipment availability separate from productive output if the line can't run every recovered hour.
- Contribution margin from usable capacity. Apply the margin only to production the business can sell and schedule. Recovered time has limited value if demand is stable and there's no constrained order waiting.
- Inventory and scrap effects. Estimate whether shorter setups make smaller batches practical, and whether better repeatability reduces scrap or rework. Don't count an improvement unless the plant can verify it.
- Implementation and operating cost. Include engineering, tooling, controls, training, validation, maintenance, and production disruption during installation.
- Payback in months. Compare credible annual benefits with total project cost, then test whether the result still holds under conservative assumptions.
The wrong target is often an impressive setup-time number with no business benefit behind it. If changeovers are infrequent, demand is stable, or upstream inspection is the constraint, a single-digit-minute goal can absorb capital without releasing usable capacity. Compare tooling, presetting, scheduling, semi-automation, and no intervention before committing; an automation ROI calculator can support that evaluation.
Keeping Quality, Safety, and Compliance Intact When Changeovers Speed Up
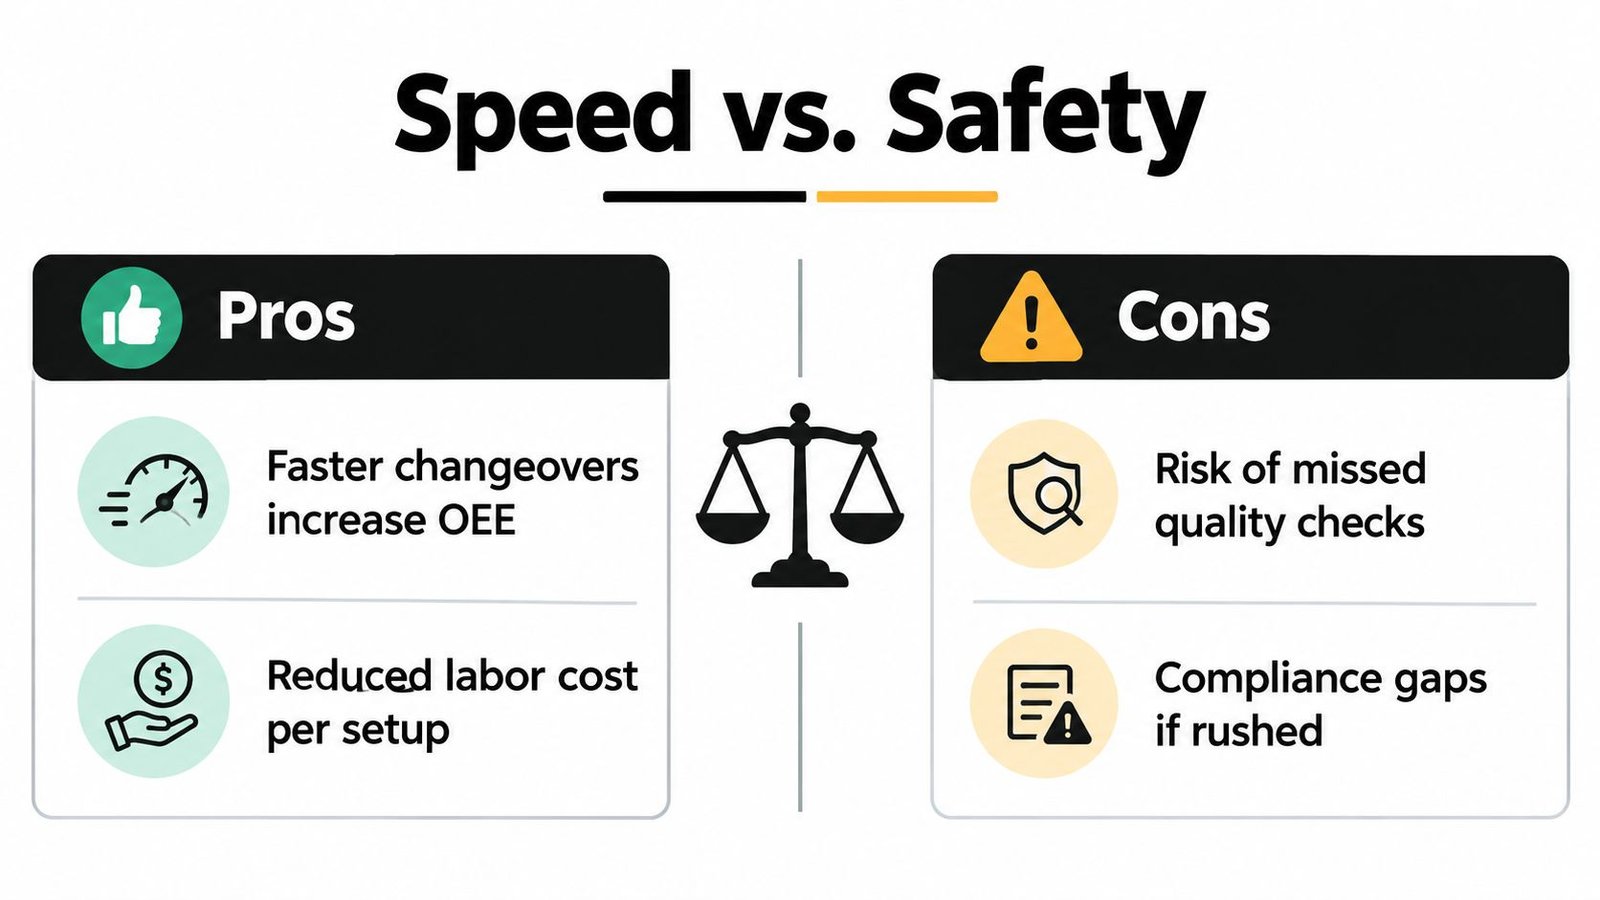
A fast changeover isn't successful if the first parts are wrong, the wrong recipe is loaded, or the record trail can't show what happened. The lasting mechanism behind sustained changeover improvements is standardization and error prevention, not raw speed. Research reports reductions exceeding 50% in CNC and welding applications, while emphasizing the role of standardized methods and error prevention in maintaining gains (study on setup reduction and standardization).
Protect the release point
Build the quality controls into the sequence instead of treating them as a delay to remove. Use visual work instructions at the station, keyed or mistake-proof fixtures where practical, and approved parameter recipes with appropriate access controls. Kit the correct material and tooling together, then verify identity and condition before shutdown so the crew doesn't discover a mismatch after the line is already stopped.
Define a first-article checkpoint and a clear first-good-piece criterion. The setup ends when the new run meets its required acceptance criteria, not when the machine merely starts moving. Record relevant settings, inspection results, and approvals in the controlled process so later shifts can reproduce the changeover.
For medical-device and other GMP-aware production, include change control, traceability, calibration status, line clearance, and documented approval before release. Confirm that revised cleaning, inspection, parameter, and tooling steps are reviewed and approved through the site's established quality system. A qualified technician or quality release may be essential to a task; moving that task earlier is not the same as removing its control.
A slightly longer, repeatable setup can deliver more usable capacity than a shorter undocumented one if it prevents startup defects, rework, or an audit gap. Make speed safe by reducing mistakes at the source: constrain settings, identify the right components clearly, and train operators on the validated sequence. Then check performance across shifts and product variants before treating an improvement as stable.
Your 60 to 90 Day Setup-Reduction Roadmap
A practical rollout starts with evidence, then tests a focused change before spreading it across the plant. Keep the improvement scope narrow enough that operators, engineering, maintenance, and quality can validate the new sequence together.
- Weeks 1–2: Record real changeovers, build current-state maps, and rank candidates by frequency, lost capacity, quality risk, and ability to monetize recovered time.
- Weeks 3–6: Pilot one high-value cell. Test external kitting, quick-release tooling, preset fixtures, and a revised sequence. Confirm that tasks are safe to perform outside the shutdown window.
- Weeks 7–10: Standardize the approved method, train operators, update visual work instructions and recipes, and establish first-article checks. Have maintenance and quality review the changes relevant to their responsibilities.
- Weeks 11–12: Compare setup time, OEE, first-pass yield, and the project's business case with the baseline. Investigate any gain that varies by operator or shift before extending the approach.
For the next decision, ask whether engineered tooling is still sufficient, whether sensor-assisted positioning could reduce remaining adjustment, or whether a semi-automated step earns its cost. Watch for missing kits, repeated adjustments, inconsistent startup approval, and operators reverting to an older sequence. Those are signs that the gains are eroding, or that the new method never became practical work.
Process redesign and targeted tooling can deliver measurable business value without replacing an entire line. One documented six-worker die-setup application reported a 60% reduction in setup time, a 40% productivity gain, and approximately USD 4,320 in annual savings after redesigning preparation and tooling (documented die-setup application). Treat that as an example from one implementation, then build your own decision on verified plant performance.
System Engineering & Automation provides custom tooling, fixtures, semi-automated and fully automated equipment, and integrated controls to help manufacturers standardize changeovers around production and quality requirements. If you're weighing a fixture upgrade against a larger automation project, visit System Engineering & Automation to discuss a practical solution for your line and budget.